Table of Contents
Moodboards
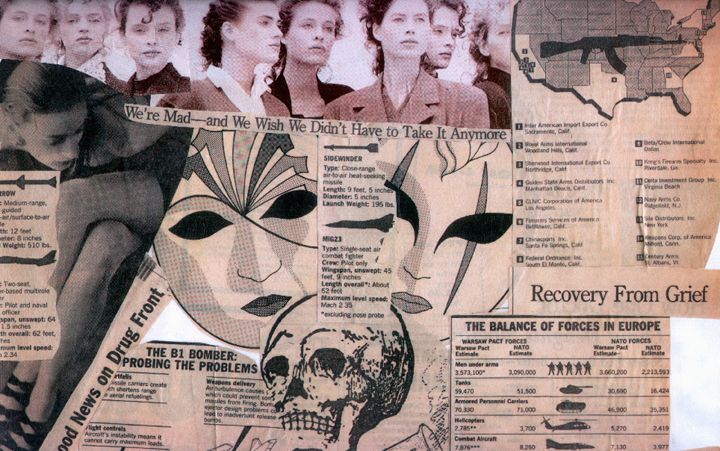
A moodboard is a type of collage – an art form that was popularised by Cubists, Surrealists and Dadaists in the early 20th century. A collage is made by gluing different images, photographs, texts, objects and other visual elements together which make up an image (and sometimes a story) in composite. Moodboards use the same technique to convey a mood, atmosphere, style or flow of a design-in-progress.
In futuring, moodboards and collages can be used in different stages of the process, when a visual image can complement or replace a conversation. Many contemporary futuring techniques tend to be quite verbose, so making a moodboard can refresh participants' brains and provide a different mode of hands-on conversation. The simplest futuring moodboard can include the title of a scenario, one image to illustrate its atmosphere, and a short description of the scenario in a few keywords. Depending on the needs of the group and the time and resources available, moodboards can become much more elaborate. They can take a physical form (e.g. with a big piece of hard paper or cardboard as a canvas, or even spatial sculptures using images and objects), or be developed digitally by sharing own and found images and texts.
Process
We describe the process of creating physical moodboards, as they tend to work best in on-site workshops. If your futuring workshop happens online, consider using a service such as Pinterest, where multiple 'pinners' can add images and captions to the same board.
- Step 1: Before the workshop, invite the participants to bring images and/or objects that they associate with the core question or issue you will be exploring. You can bring visual materials yourself as well, to provide more diversity and volume. Make sure there is enough (large) paper/cardboard and sufficient cutting, gluing, drawing/painting and/or sculpturing implements.
- Step 2: When the participants arrive collect the images and objects and mix them up in one pile. If appropriate spread them out on a table or the floor.
- Step 3: Frame the exercise and provide clear instructions. Depending on the size of the group, you might want to have several break-out groups, with a maximum of 4–5 participants per group.
- Step 4: Invite the participants to briefly discuss the topics and atmospheres their moodboard aims to convey. Suggest that they think about a title or a series of short keywords, questions or sentences that could be included (if needed). Encourage the group to use images, objects and/or drawings as soon as practical to feed their discussions.
- Step 5: About 5–10 minutes before the end of the exercise, let the participants know how much time they have left and suggest they start finalising the moodboard (if they haven't yet).
- Step 6: Invite the participants to present their moodboards in the form of an exhibition or a 'poster-presentation'.
- Step 7: Discuss the moodboards with the whole group and distill the insights.

