This is an old revision of the document!
DIY Worm Farm
Hello, Imogen here. Recent FoAM apprentice. Long time worm farmer.
I built a worm farm for FoAM last week. Here's how I did it plus I'll add some maintenance tips and further references.
First up, it's good to know that these are red wiggler worms, not to be confused with earthworms. While both types of worms break down organic matter, earthworms hang out at a deeper level of the soil. Whereas red wigglers live at the surface of the soil, and are a more aggressive eater: devouring manure, dead leaf matter, you name it. So these are the worms used for composting, their worm castings create rich fertiliser for plants to grow.
You can buy a worm farm from your gardening store, however it is way more fun to make your own. Worm farms can be as simple as a single container in which you put your food scraps. They can exist vertically (stacked, so that worms move up and down from layer to layer), or they can also exist horizontally - ie you can create a long farm, often people use bath tubs. Drainage is very important as worms also create liquid (called worm tea). This should be drained out of the worm farm so that the worms don't drown in their own wee (yuk). This liquid is also great fertiliser, and should be added to plants watered down to the colour of weak tea.
So! Your worm farm design is not only about aesthetics (what you want the worm farm to look like, maybe you want it to also function as a bench top for pot plants or a seat), but it's also about what materials you have at your disposal and how much you are willing to spend on buying bits and pieces. After chatting to FoAM, we had decided on a bath tub design, with a nice wooden lid (perhaps an old door) which could provide a flat surface for plants.

I hunted around Brussels looking for a bath tub, but to no avail, it just wasn't second hand bath tub season at the flea markets. So Plan B: I decided that I'd buy big plastic tubs which stack into each other (you can buy them at hardware store or office supply stores). I decided on a vertical design like this http://www.tumbleweed.com.au/WormFarming.aspx . If you're going to go for layers, I like using a 3 layer system, where you have the top 2 layers to interchange between the upper feeding level and lower 'composting' level, and the 3rd bottom layer acting as a drainage system.
Purchase:
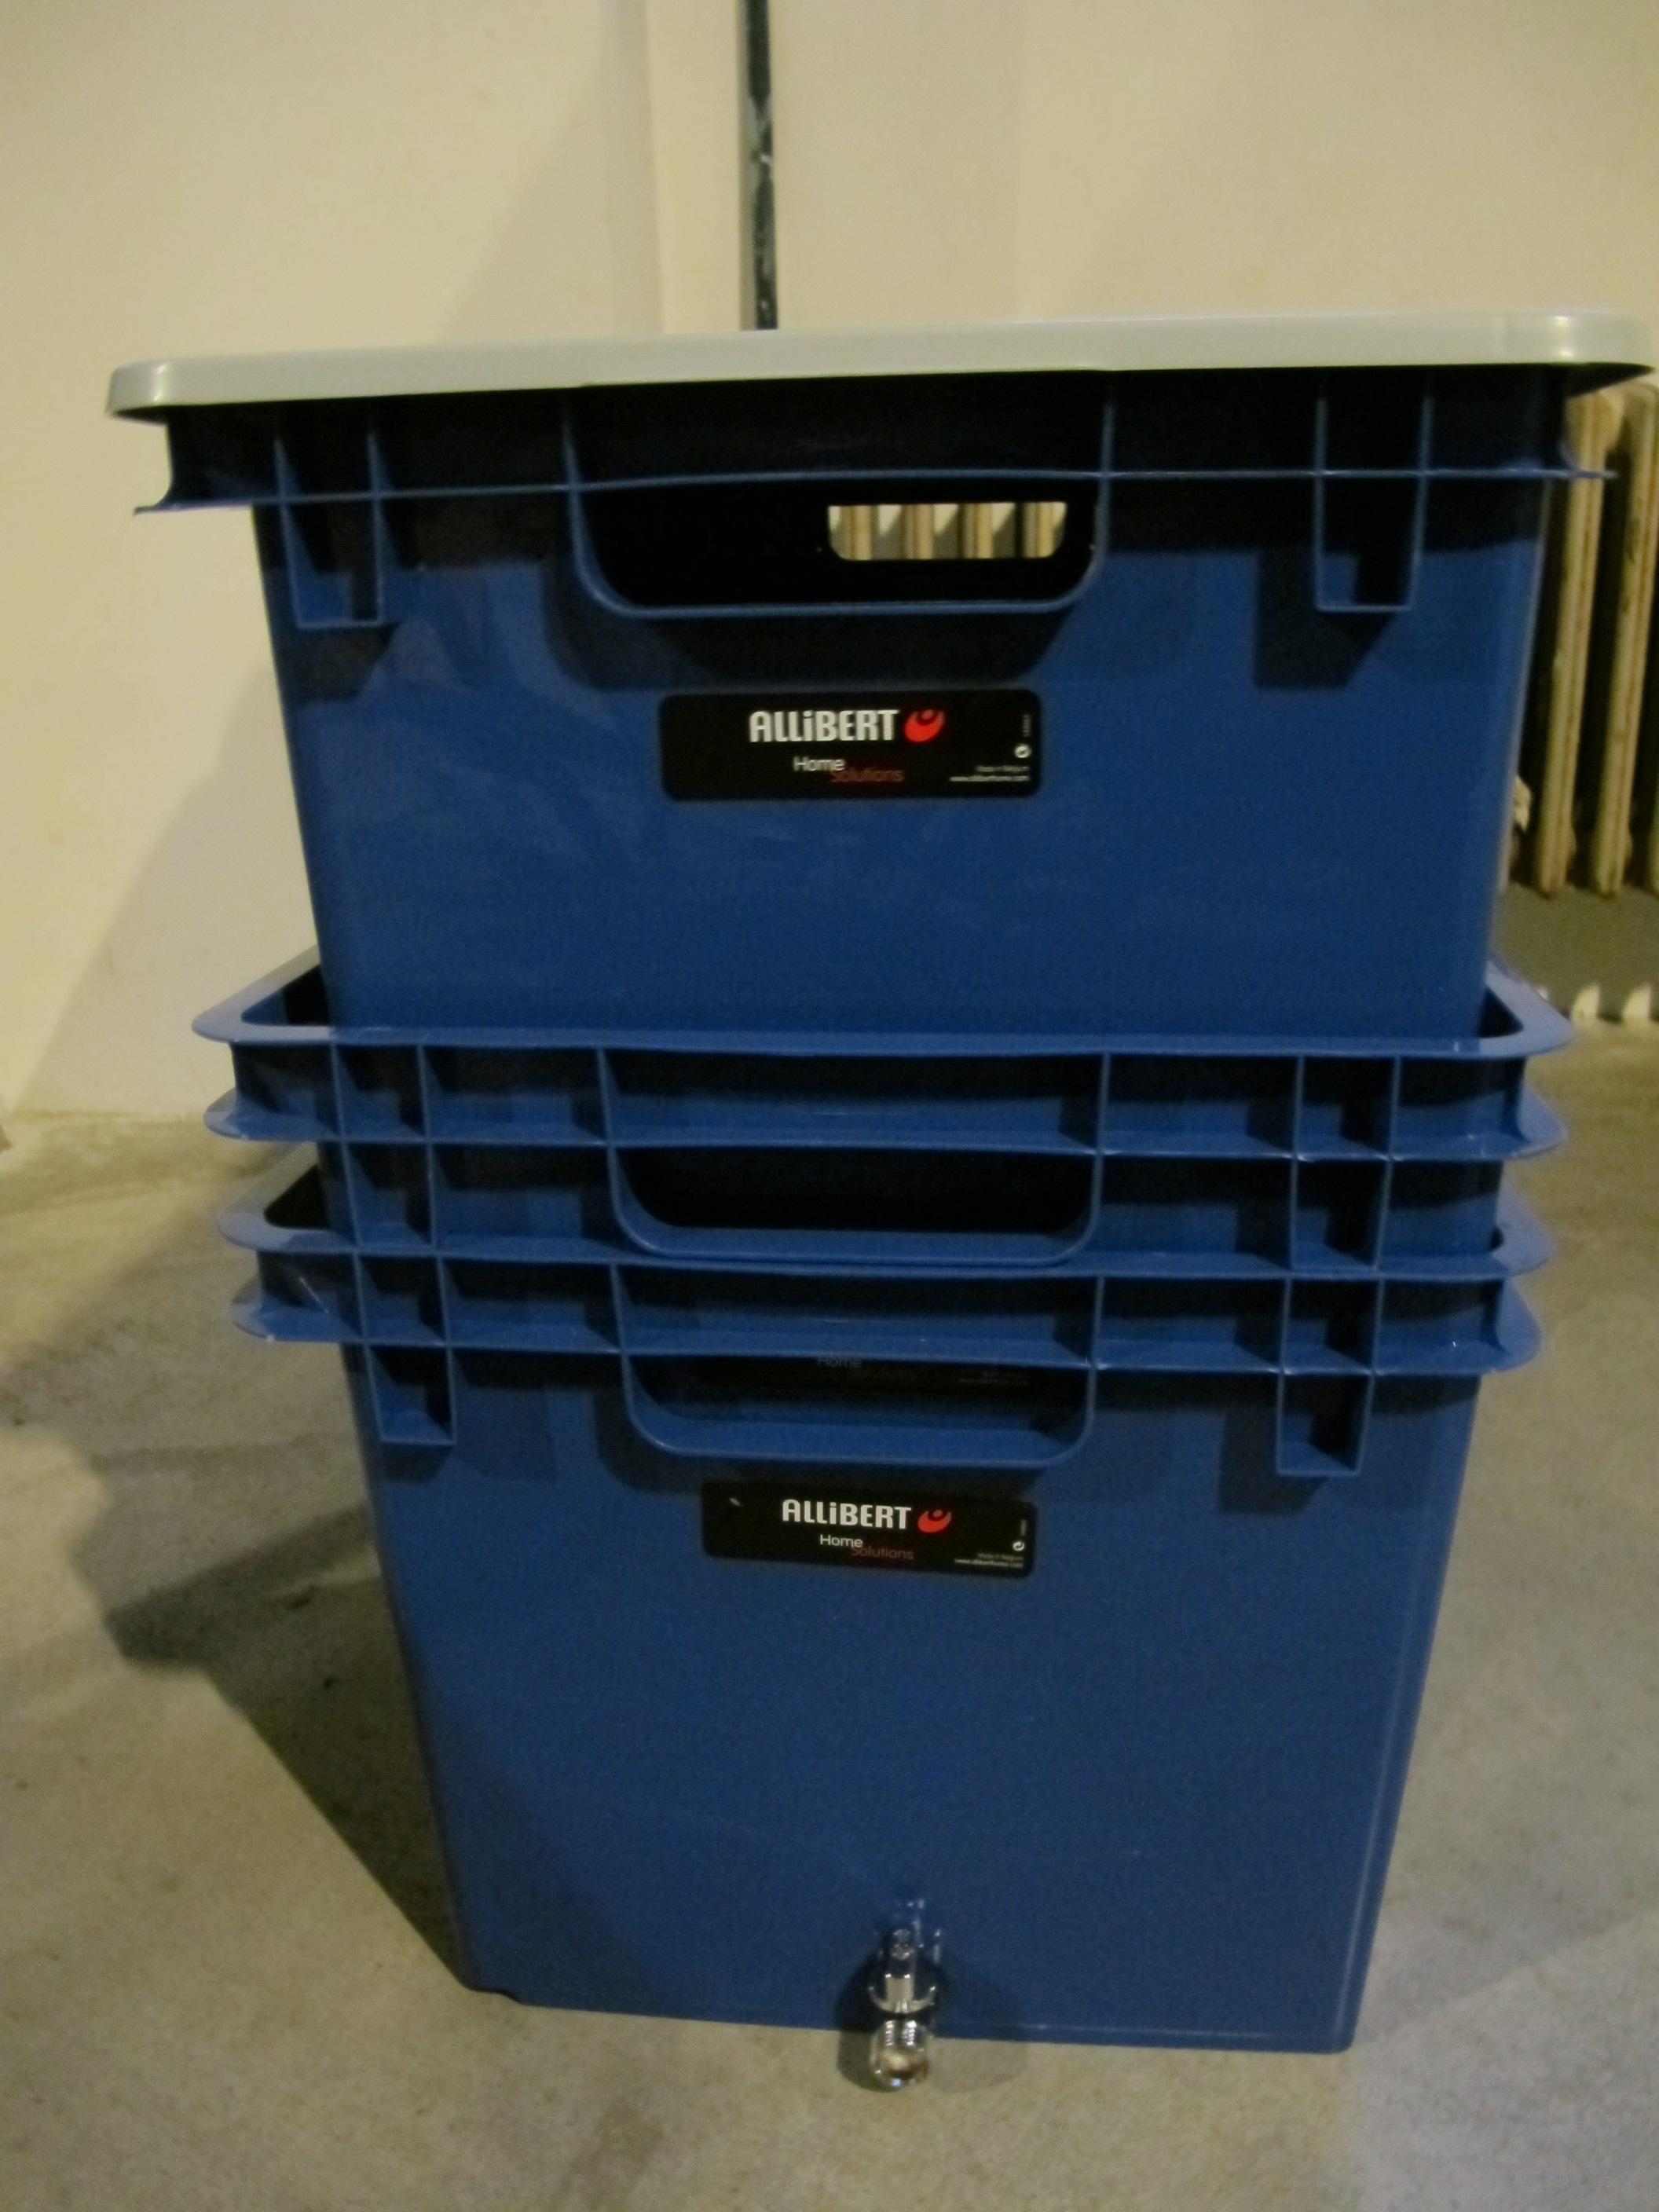
3 x blue plastic storage containers
1 x lid
5 x 15cm wooden blocks
Threaded tank inlet and washers
Total cost: about 50 Euro (could have been cheaper but I had to shop at the inner city hardware store, which was an experience in itself as none of the staff spoke English. Trying to ask for / draw / mime a threaded tank inlet was like playing charades in the dark).
Step 1:
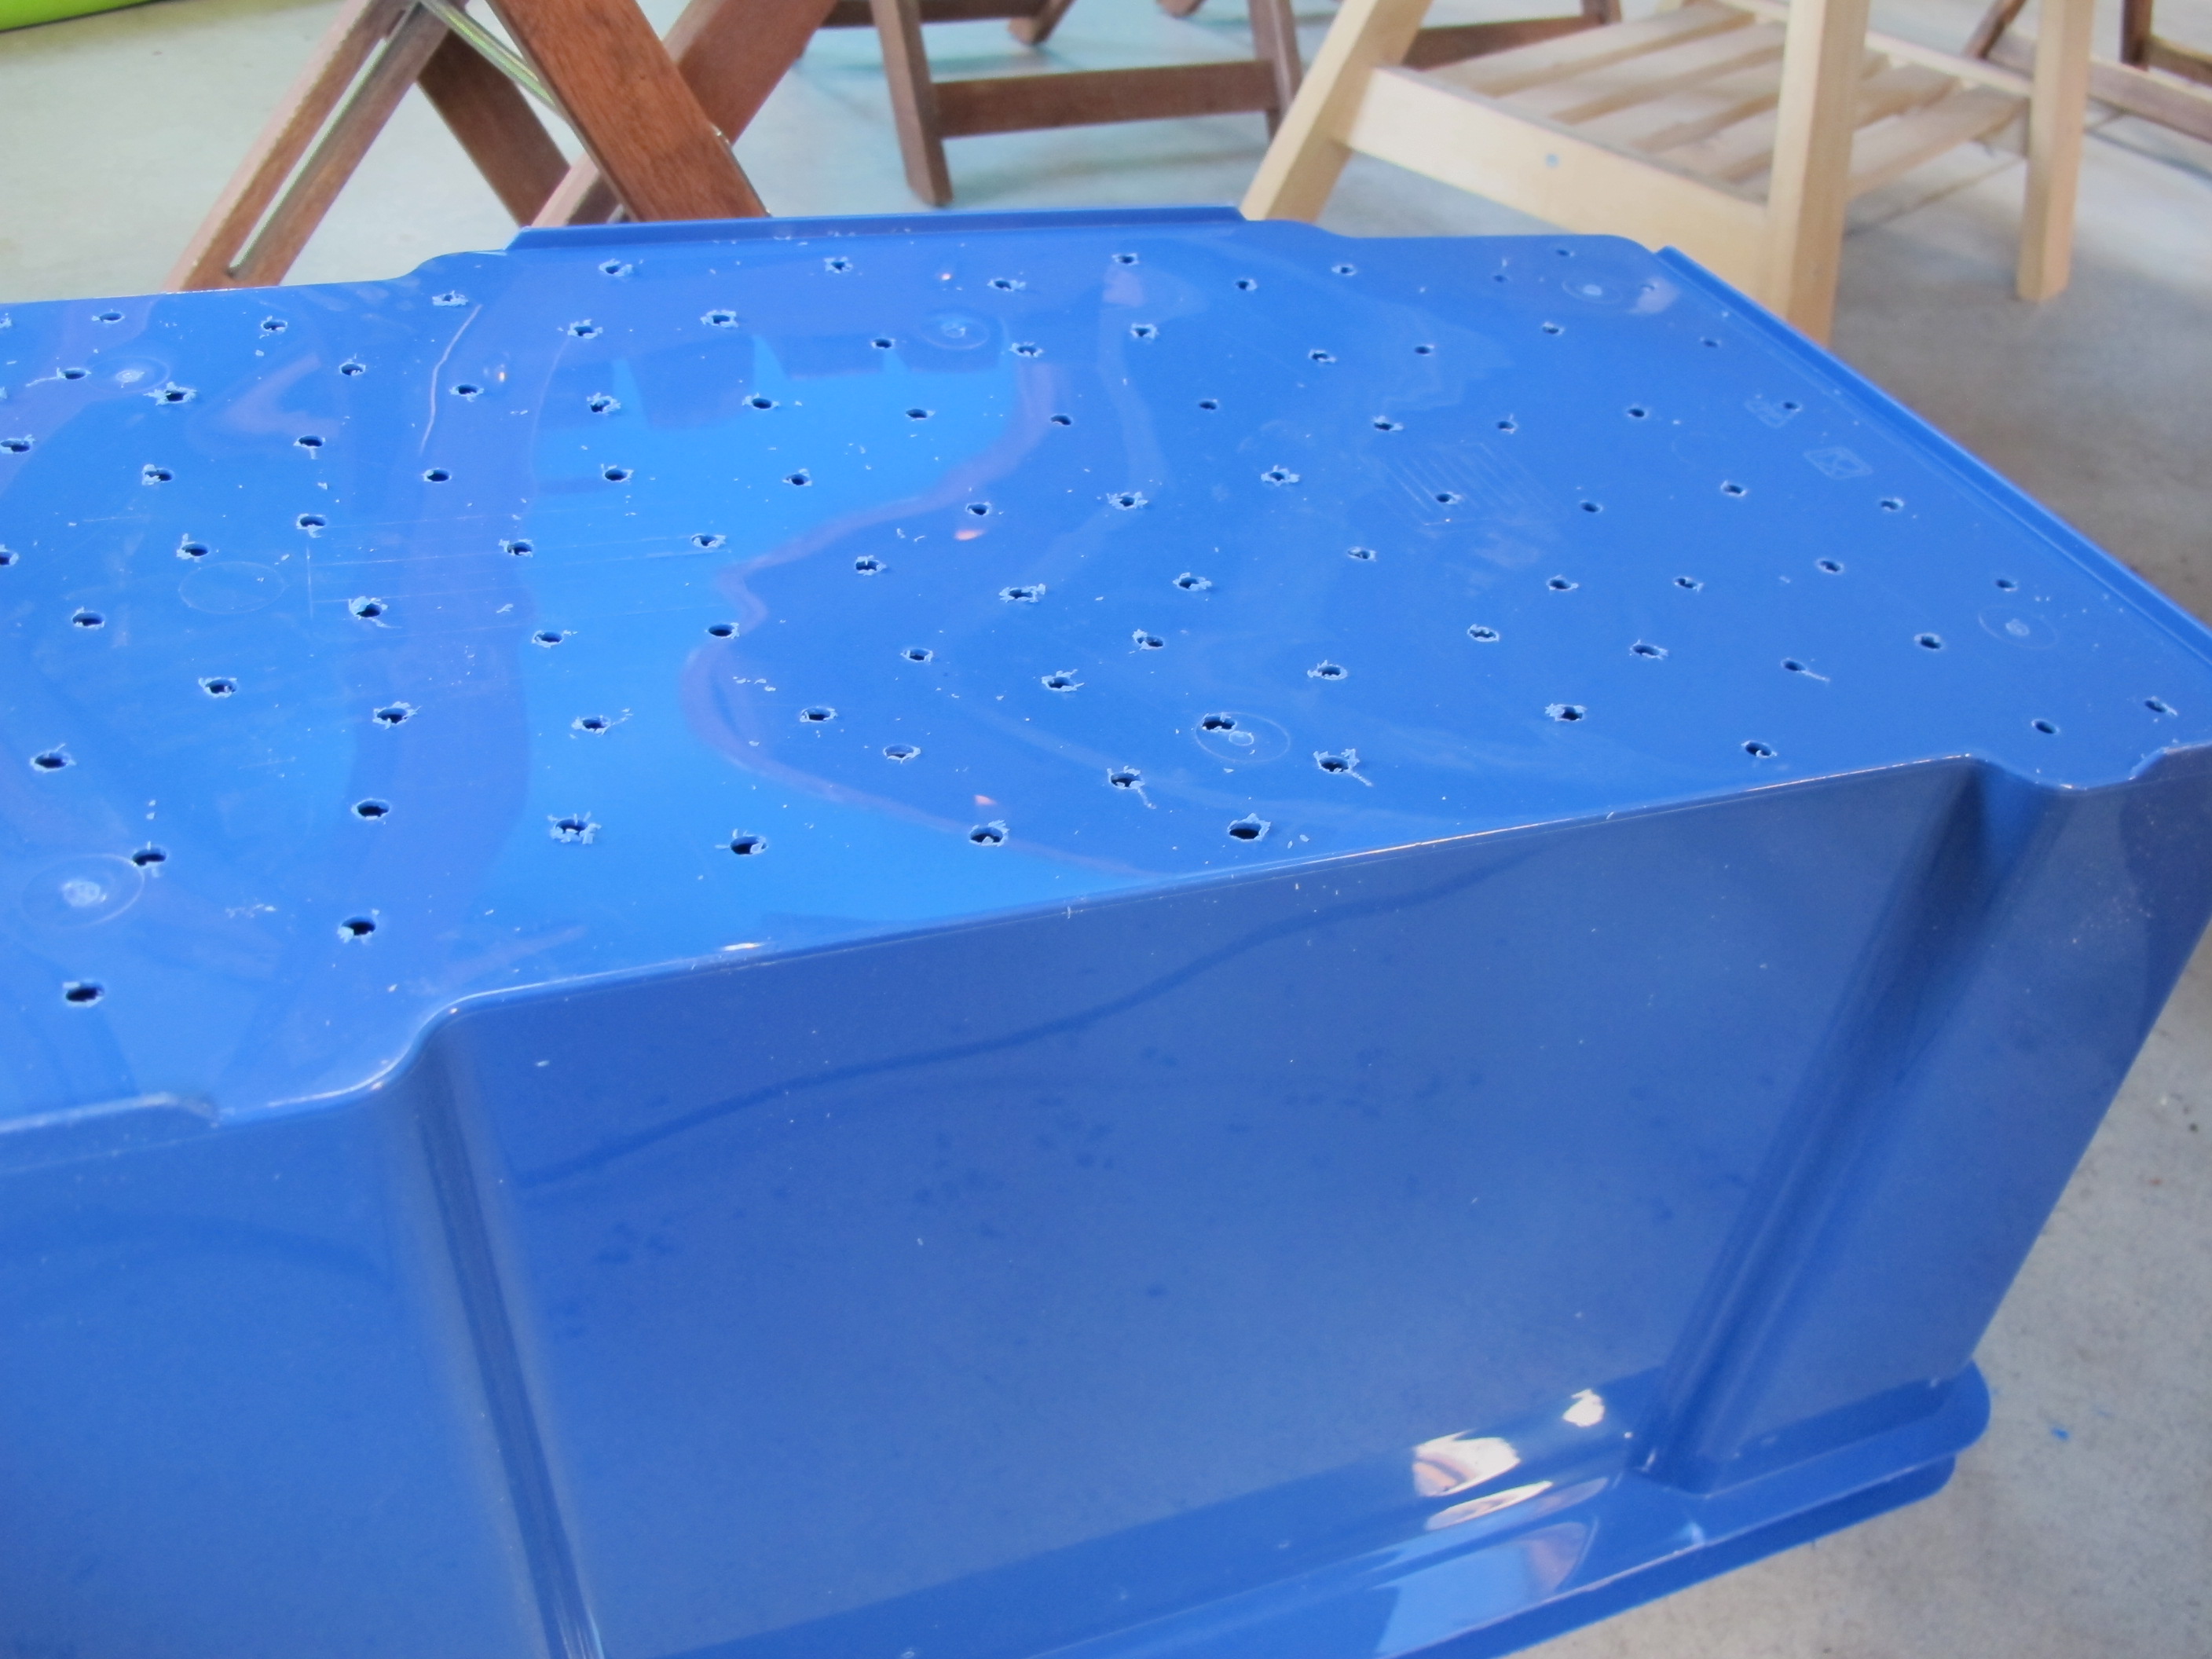
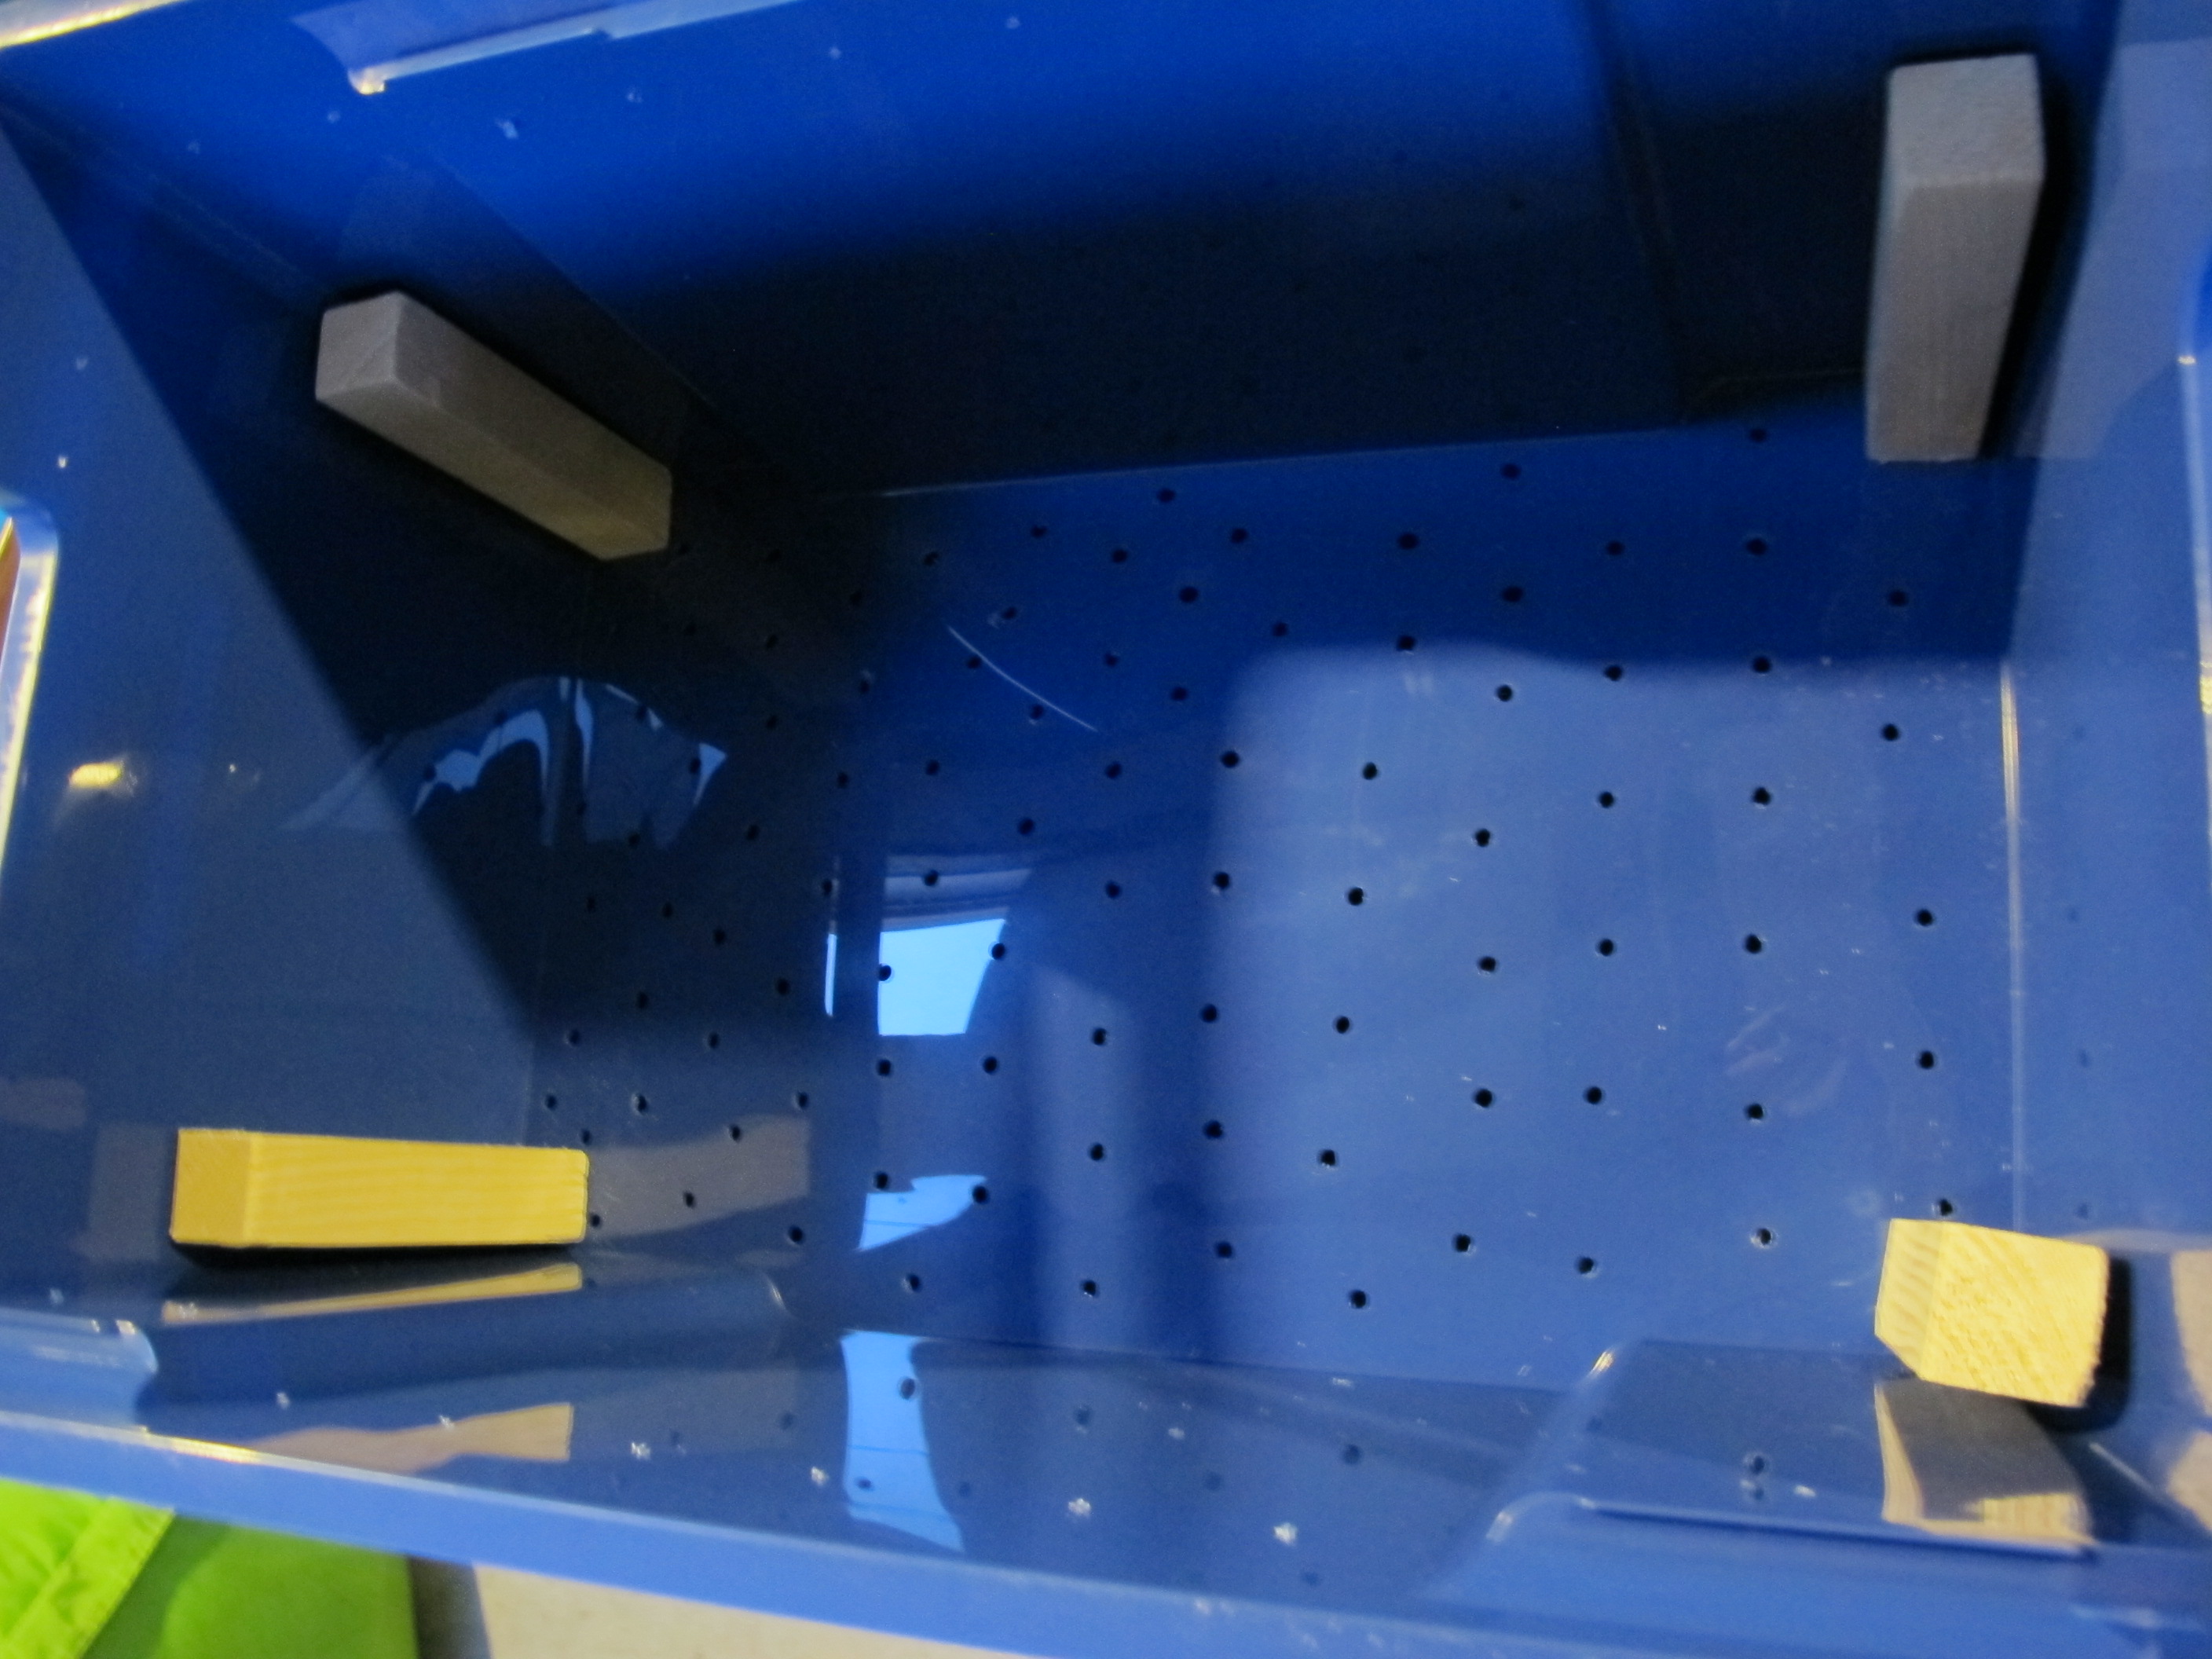
Drill some very small holes (about 1/16“) around the top of the containers to help with ventilation. Drill larger holes (about 1/4”) on the bottom of 2 tubs. Space about 5cm apart. These 2 tubs are the interchangeable top layers of the worm farm. Both will drain liquid down to the 3rd level (and also letting the worms move up and down).


Step 2
Create your drainage system on the 3rd level. You could just drill a hole and let the liquid drain into a bucket. However, worms can be prone to escaping, so you're better off creating some kind of small drainage system which would make it harder for them to crawl through. I drilled a small hole in the side of the tub, and inserted a small tap with a threaded end which I secured with washers and bolts to make it water tight. The tap can be closed off however it's best to leave it open, letting worm tea drain into a bucket below. It's good to use the tea when it's fresh, so seeing it in the bucket reminds you to put it on the plants. Just a useful tool for not forgetting!
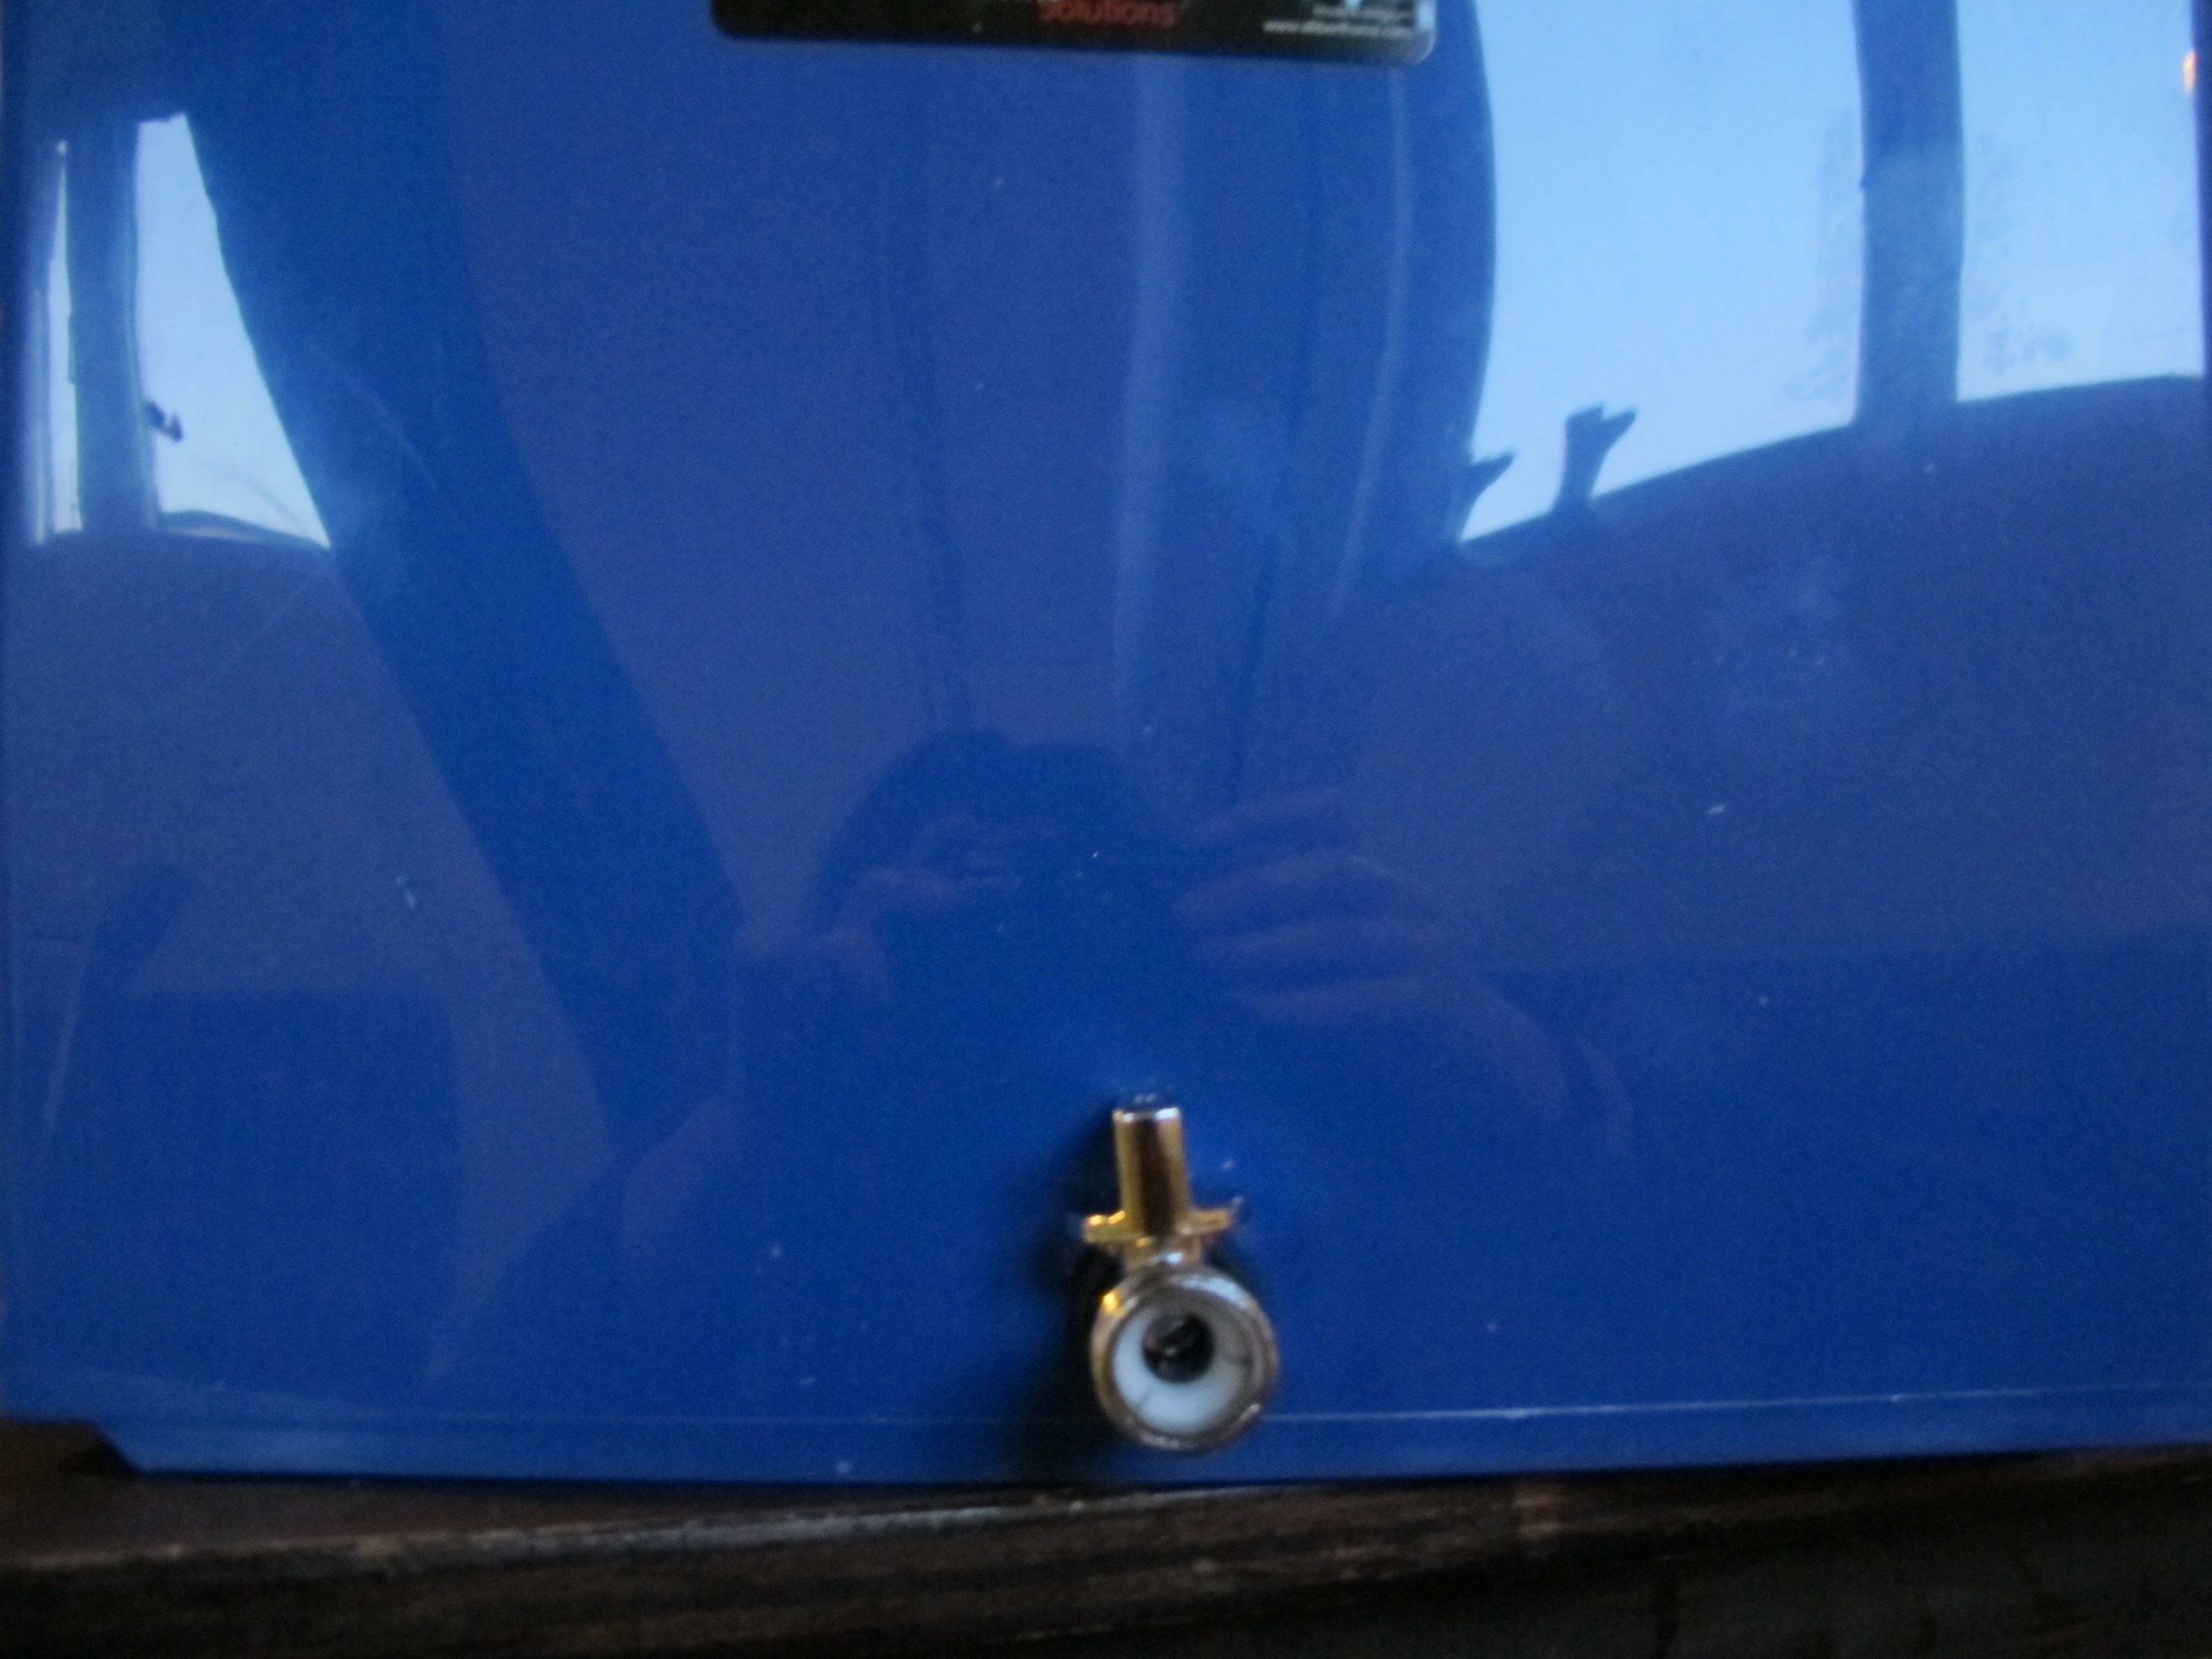
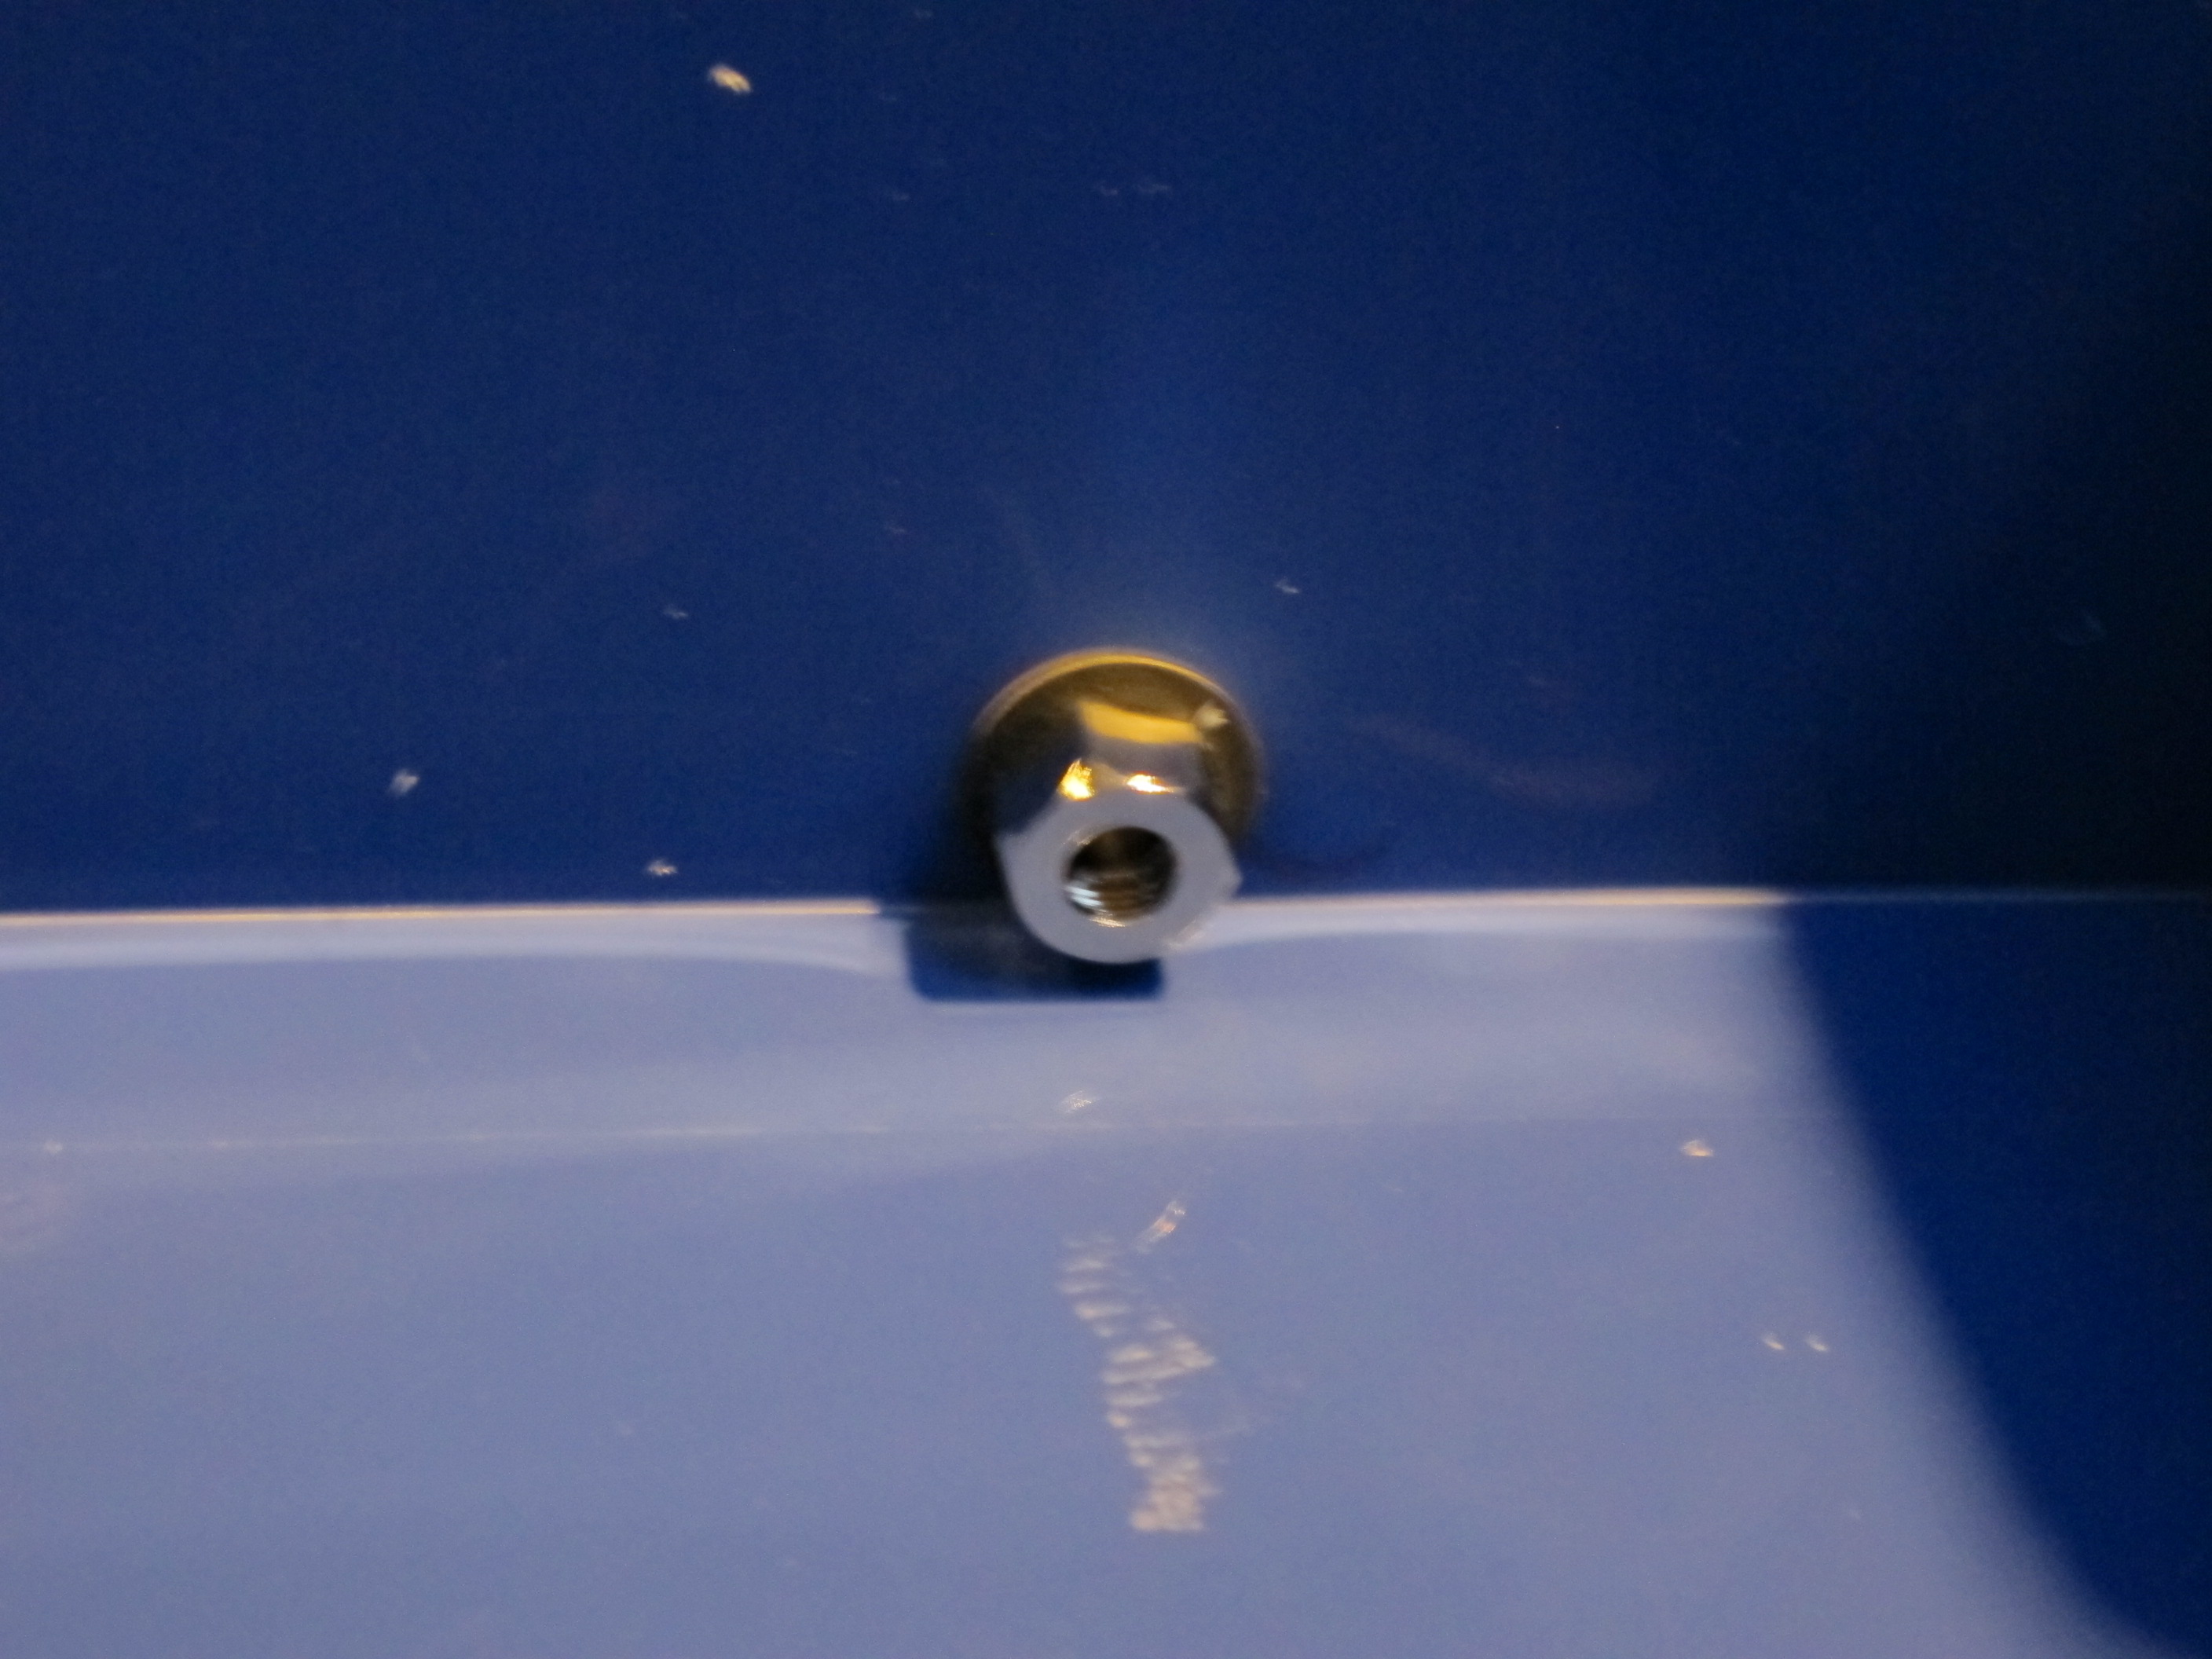
A slight design flaw is that the bolts I used were very wide. I would have liked to drill the hole at the base of the tub, allowing the liquid to drain out the bottom, however the wide bolts created too much height, which would have meant liquid would be sitting in the bottom of the tub. So I went with a side drainage option, which will still mean that some liquid will get stuck in the bottom but it just takes a small tilt of the tub to drain it out.
Step 4
Place the wooden blocks in 4 corners of the 2nd tub. These blocks create space between the food layer and the composting layer. Stack the tubs on top of one another. Voila, your worm farm is ready!
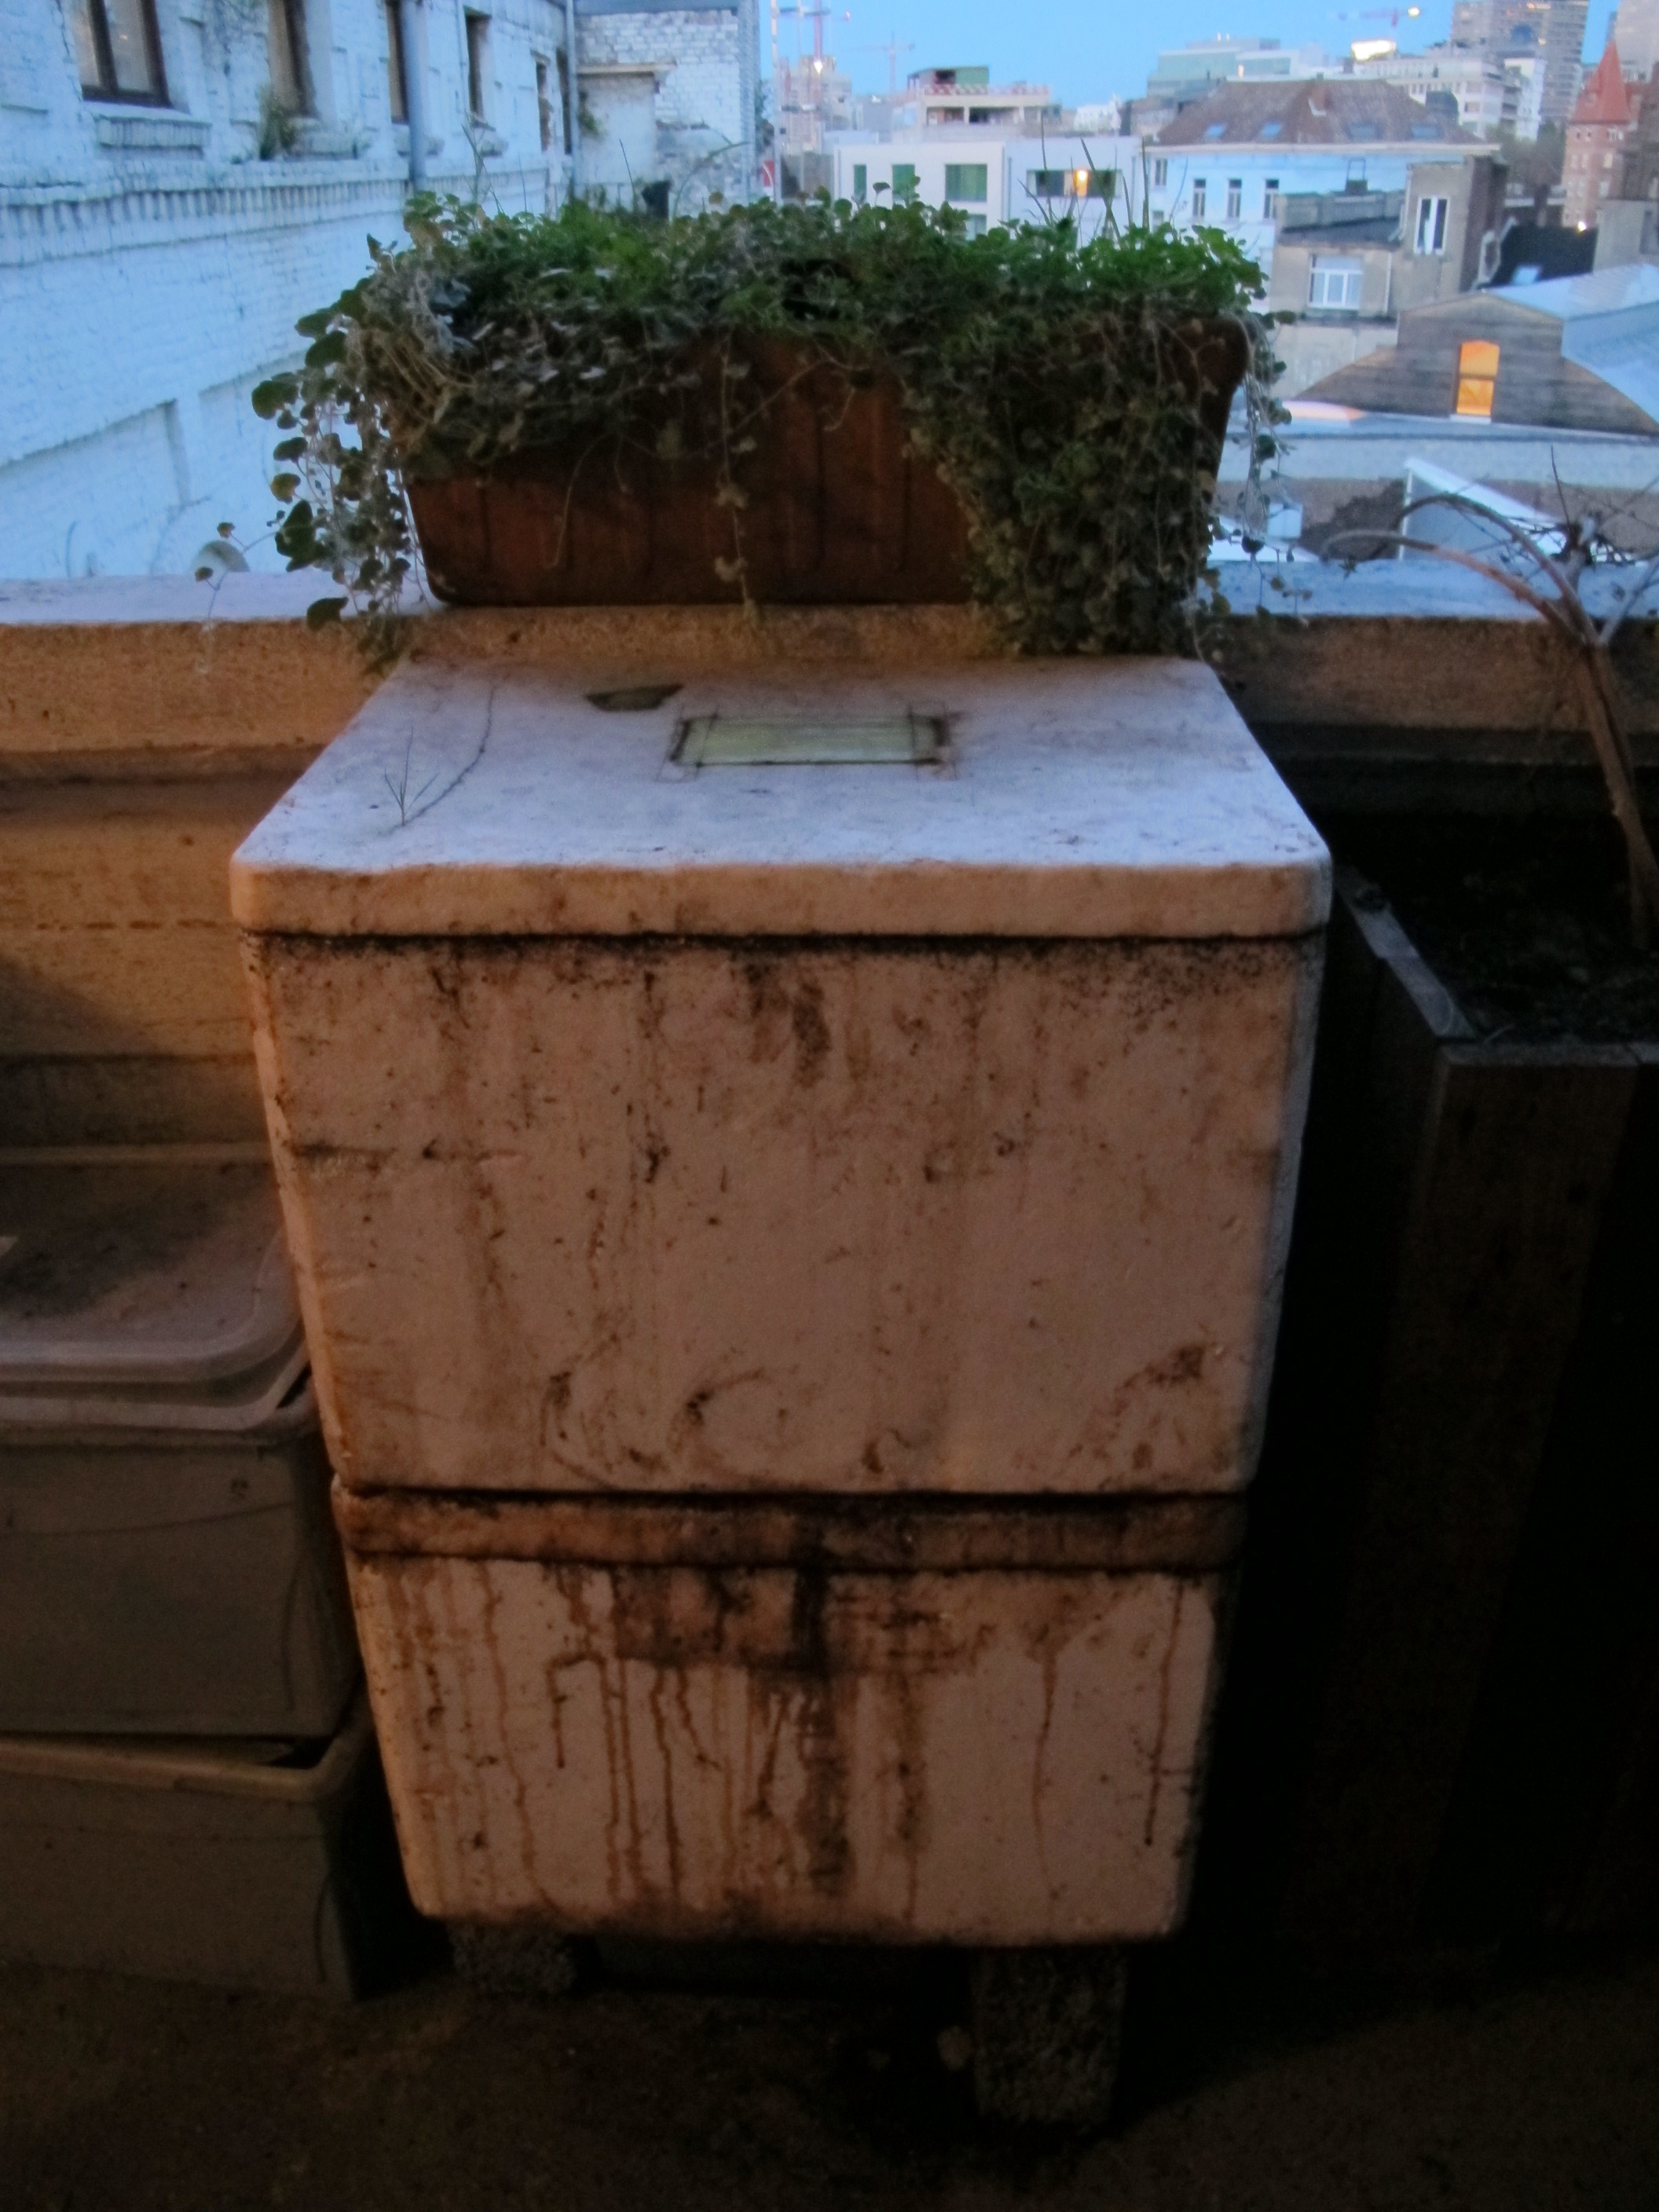
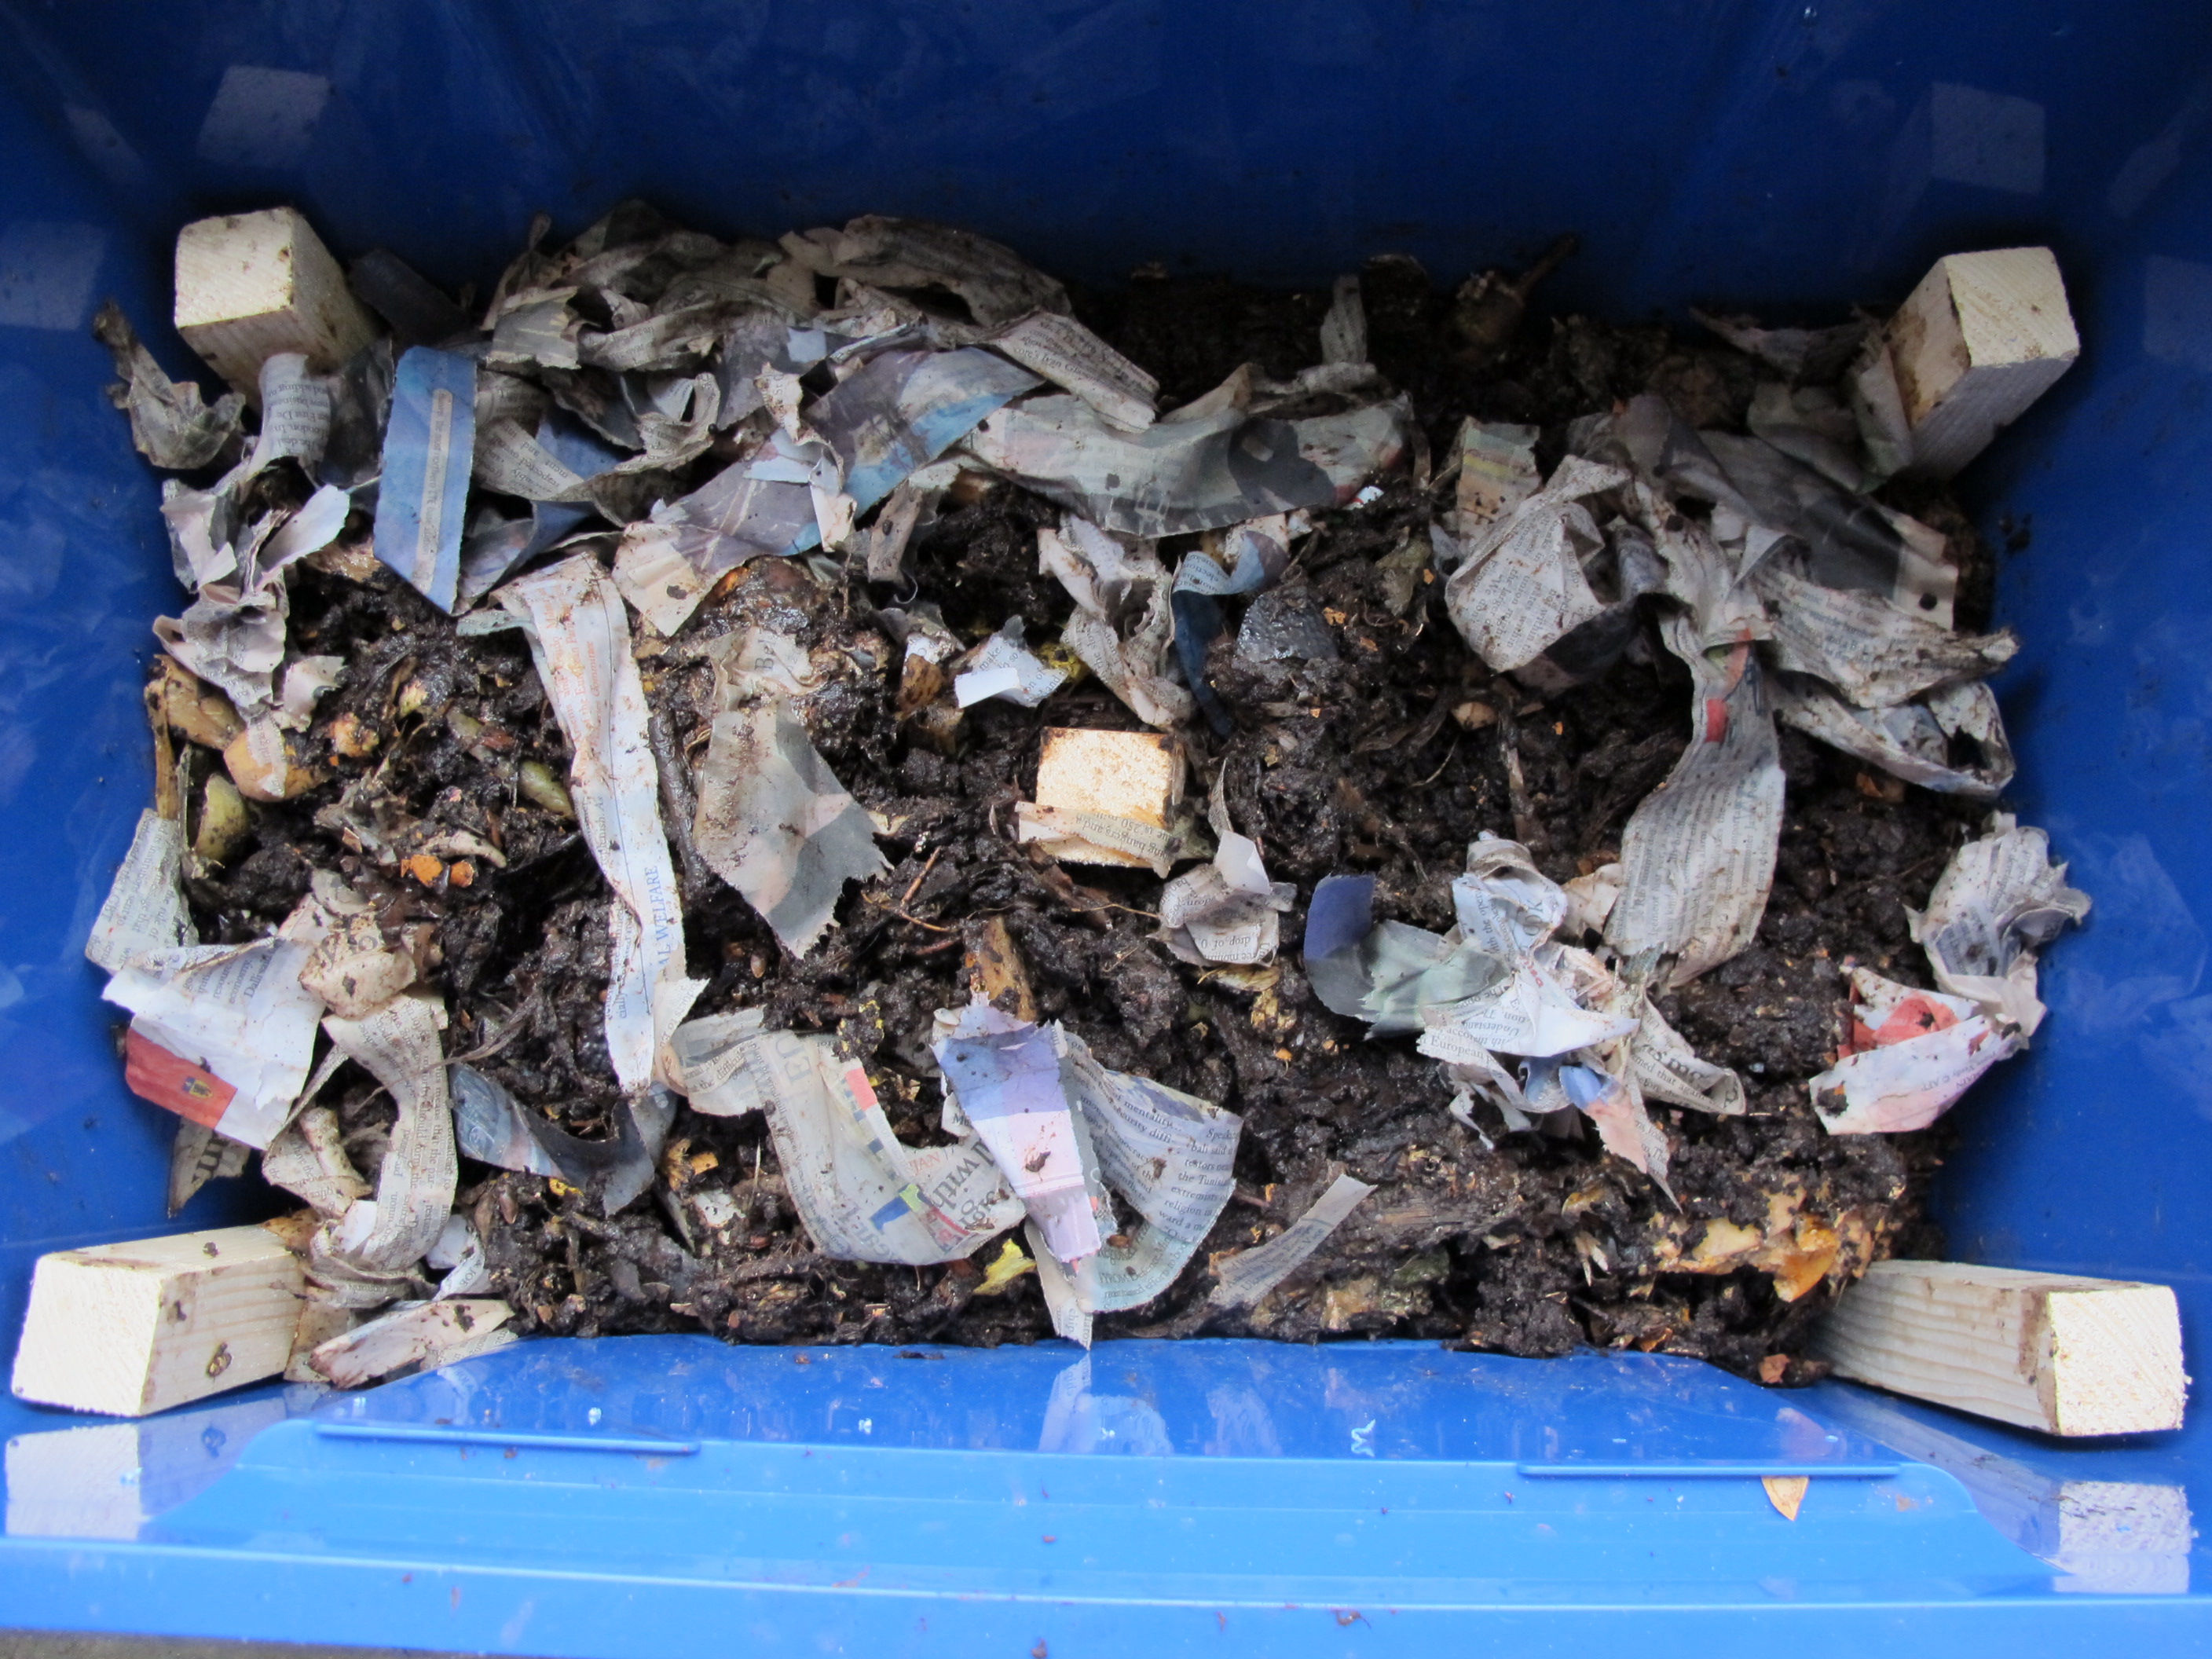
Out on the balcony, the old worm farm is full and overflowing. It was time to dig in, harvest out worm castings that were ready and put the rest of the compost in the new worm farm. I added some shredded wet newspaper. Carbon helps balance out the rich nitrogen during the composting process. Worms love newspaper. I was told this via my permaculture teacher who spoke to a worm farming expert in Australia. I move most of the compost to the lower level, as it was well on its way to decomposing. This will allow for the worms to finish it off and for new food scraps to be added to the top level.